All designs and creations posted by me are to provide others with inspiration and ideas. I appreciate you stopping by to view my work! Please feel free to use to my ideas on your own projects, but please give credit where credit is due and do not duplicate for contests/challenges or for selling purposes by recreating my projects. Thank you again for coming by!

Tuesday, October 25, 2011

Super Hero Birthday Layout

This is a layout I created for my son's 4th Power Ranger Birthday Party introduction page. He's 7 now, but I am catching up on birthday's....yeah, I'm far behind to say the least! ****Just so you all know BIRTHDAY is purposely spelt wrong because I spelt it how my son used to pronounce it that way!****

This LO uses the following cricut cartridges:
MS Seasonal Cakes (layered background circles & award layers)
DC Batman (font used for "hero" layers)
Best of 2006 ("birthday")
DC Superman (layered clouds/sun)
Thank you so much for looking!


Thursday, October 13, 2011

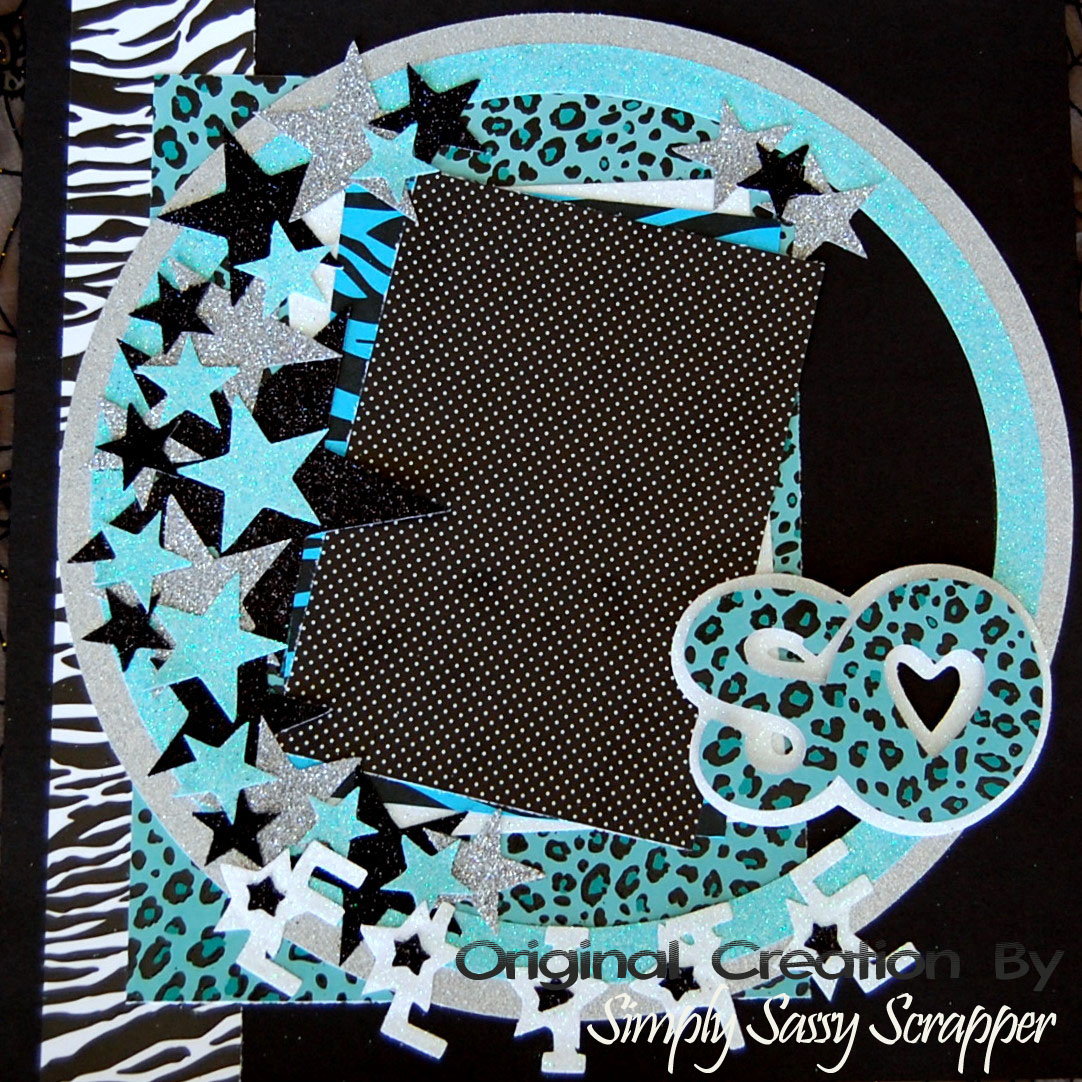
"SO ELITE" Cheerleading Layout

I made this Layout today as my beautiful daughter's club competitive cheer season is about to begin.  Practice has already been going on for the past couple of months, but the season starts Dec. 3rd!  They get their new AWESOME All-Star Uniforms in the next couple of weeks, then its individuals and team pictures...of which I am placing her individual picture in the blank photo matte!  Enjoy and thank you for looking!!


Cricut Cartridges Used for Layout:
Printing Press
MS Seasonal Cakes
Disney's Hannah Montana
Cuttin' Up

Tuesday, October 11, 2011

BLOGIVERSARY CHALLENGE: Sketch Challenge!

For this BLOGIVERSARY CHALLENGE: Sketch Challenge!, I created a simple LO using the sketch provided.


 Cartridges used: George Fonts & Shapes (Large Circle Cut), Printing Press (Black Circle Layer), April Showers (Flower Layers), Sports Mania ("Baseball" Title) and Gypsy Wanderings ("Winter" Title).

Sunday, October 9, 2011

So What's New Blog Hop! Day 2

Thank you for visiting my blog from Susan G. @  makelifeacreation.blogspot.com

I'm sure you enjoyed what she has shared! I look forward to everyone playing on our Hop!
This Blog Hop today begins with Roberta from: txscrappermom.blogspot.comThis is the second day of a 2 day Hop with a group of new bloggers excited to be part of the "Bloglicious" crafting world! Thank you so much for stopping by!

I wanted to change it up a bit and do a Christmas/Holiday Themed Card! So here is my creation!


This card was cut with the following:
White Cardstock Base 9"w x 6"h "Just Because Cards" cricut cartridge
Polka Dot 2nd Layer card Base 8.65"w x 5.76"h "Just Because Cards" cricut cartridge
White Cardstock 3rd Layer Base 6.35"w x 5.2"h "Just Because Cards" cricut cartridge **I cut this layer to about 1/3 of it, see pictures below for sample.
Black Polka Dot Strip cut 2"width
Poisettia Red Cardstock "Winter Woodland" cricut cartridge <s + poisettia> cut each layer as follows:
2", 1.75", 1.5", 1.25", 1"
Poisettia Green Cardstock Leaf "Winter Woodland" cricut cartridge <s + shadow + poisettia> 2.45"w x 3.35"h
Seasons Greetings Card Title "MS Seasonal Cakes" cricut cartridge Black cardstock base 3"w, top layer 2.81"w
Diamond Dust, bling and Ms celebrate it red seasonal xmas ribbon

Again, thank you for stopping by and I hope you enjoy! Your next stop today will be:
Becky from: BecciRay.blogspot.com
Happy Crafting!

Saturday, October 8, 2011

So What's New Blog Hop!

Thank you for visiting my blog from Becky @  BecciRay.blogspot.com
I'm sure you enjoyed what she has shared!  I look forward to everyone playing on our Hop!

This Blog Hop begins with Leah from: mycraftandchatcafe.blogspot.com. This is a 2 day Hop with a group of new bloggers excited to be part of the "Bloglicious" crafting world!  Thank you so much for stopping by!


Thank you for stopping by and viewing my project! Instructions for this card are below:

First, I got the idea for the card size from one of my favorite blogs; noelmignon.com (she has so many terrific ideas).   This card is wonderfully excellent size as it gives you the ability to use up all of those white letter size envelopes we all have sitting around.
Card Size 4 inches width, 9 inches height (4" x 9")
To create this particular card size I cut a piece of black cardstock into 8" x 9" size and folded in half to make it now an 4" x 9".
Next I created a patterned paper layer from last years DCWV Halloween stack.  The layered strip measures 3 1/2" x 8 1/2".  I also adorned the strip with a strip of purple and black ribbon.
From that point I used black cardstock and my Cricut Expression to create the black spider web embellishment from the new Theresa Collins Chic and Scary cart (web measures 4 1/2").  Then I used the same cartridge to cut the tree embellishment at 3".  I also used the same cart to cut the spider at 1 1/4".  To give the card a little extra I used some of this fake spider web stuff I picked up at a scrapbook expo.  I also used red bling embellishments on the spider and used Queen & Co. pearl accents and finally I used Little Yellow Bicycle "Happy Halloween" Canvas Tag.

Again, thank you for stopping by and I hope you enjoy! Your next stop today will be:
LaShavia from: thecraftypinkbutterfly.blogspot.com

Thursday, October 6, 2011

Weekly Challenge #42: World Card-Making Day Challenge!

My entry for the Circut Circle Weekly Challenge #42: World Card-Making Day Challenge!


Just Because Cards Cartridge - Black Cardstock 7.5"w x 5.5"h; Green animal print
cardstock 7.02"w x 5.15"h
Home Accents Cartridge - Bottom Layer of flower 3.27"w x 3"h; 2nd layer 2.82"w x 2.76"h
Just Because Cards Cartridge for 3rd Flower Layer 2.74"w x 2.70"h; 4th layer 2.21" x 2.11"; final flower layer 1.57" x 1.47"h.
Added Stickles and CTMH Tiny Bling to Chipboard Embellishment

BLOGIVERSARY CHALLENGE: Exclusive Circle Cartridge Challenge!

For this BLOGIVERSARY CHALLENGE: Exclusive Circle Cartridge Challenge, I created a quick, simple and easy Thank You Card, using exclusively the Sophie Cartridge:
Yellow Cardstock is a precut (bought from Ms) 6 1/4 " x 6 1/4 " Scallop Cut
Butterfly cut both top and bottom layer at 2 1/2 "
Butterfly Doily 5 "
Circle 3 1/2 "
Of Course I added my fav "Diamond Dust" to the wings of the butterfly!